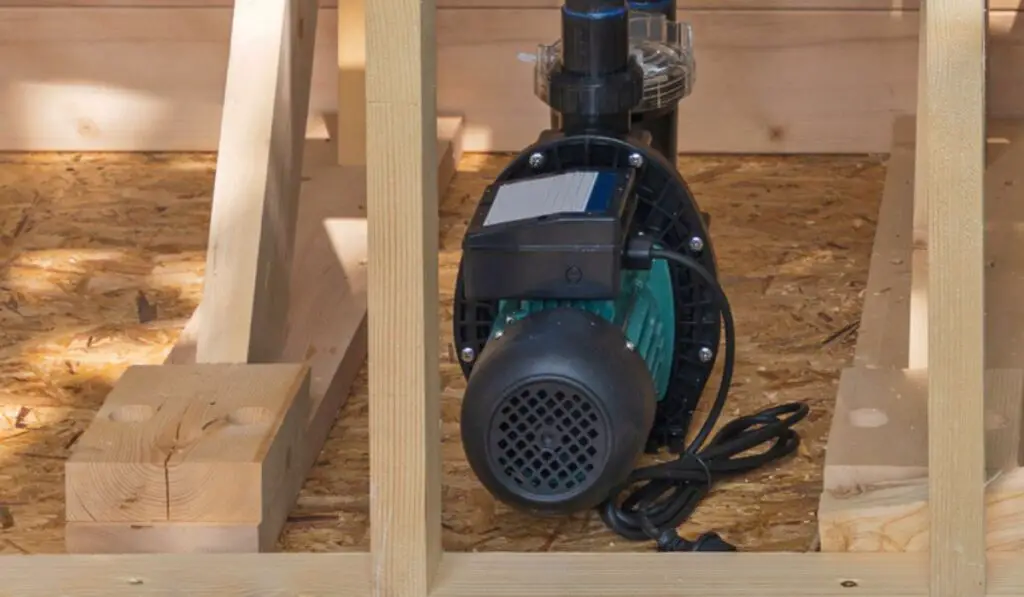
Pool pumps help sanitize and filter the water, making them an essential tool for a healthy swimming pool. However, like any other mechanical device, they’re also susceptible to faulty components. In particular, pool pumps can stop working if the capacitor is damaged or outdated.
Pump capacitors start to wear out after about 5,000 starts, which is usually around 10 to 15 years, depending on how often you use the pump. A new capacitor costs about $20. Make sure you choose one with the same uF and a voltage rating that’s equal or higher than that of the previous model.
A failing pump motor and a bad or faulty capacitor have very similar symptoms. Luckily, testing the capacitor with a multimeter can help identify exactly where the issue lies. Let’s look at what exactly a pool capacitor does, how long it usually lasts, how you can test it with a multimeter, and what you should consider before buying a replacement.
What Does a Pool Capacitor Do?

The capacitor of a pool pump is very similar to the battery of a car. Just as your car needs a powerful battery in the engine bay to help it start, your pool pump also needs a capacitor to start and function properly.
A capacitor basically gets your pump up to speed before it changes to a different power source. Generally, most pumps need to reach a speed of 3,450 RPM (rotations per minute) before they can switch over to another energy source.
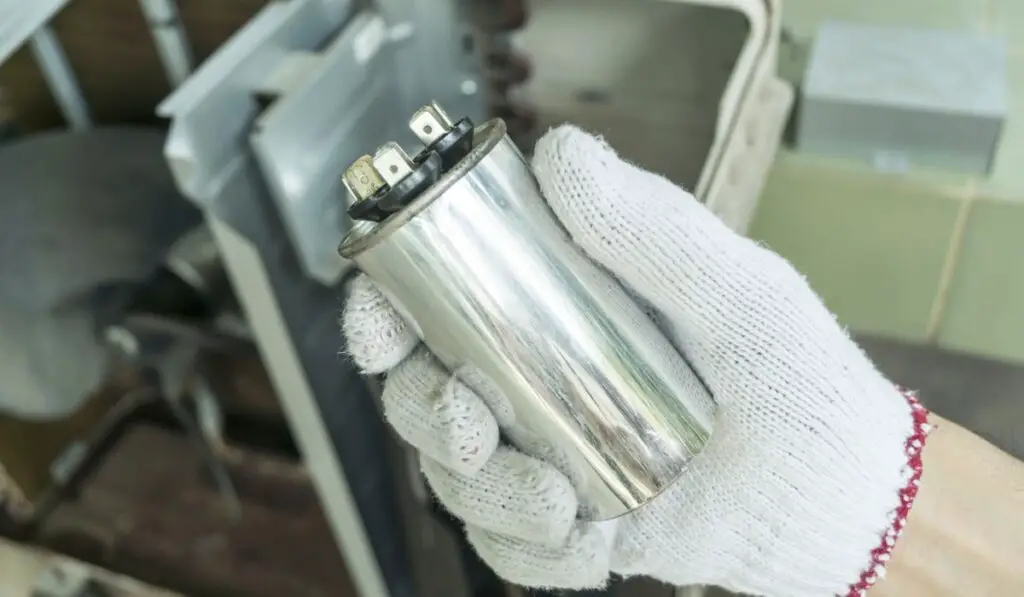
Pump capacitors are usually cylindrical in shape and measure around three to four inches long, but some models might be slightly smaller. Some pumps are also fitted with two capacitors — one to start the pool pump and one to keep it running.
Either way, a capacitor is an extremely important part of your pool’s pump system, and without it, your pump won’t work properly.
How Long Does a Pool Capacitor Last?
Your pump capacitor might be going bad if it’s somewhere between 10 and 15 years old, depending on how many times you run your pump each day.
Pump capacitors usually start to wear out after they’ve been started about 5,000 times. However, this is not a definite number, and they can start causing issues long before then.
Signs It’s Time to Replace Your Pool Capacitor
It’s pretty easy to identify a bad pool pump capacitor, and you don’t actually need any special tools for the job. You just need to think, smell, listen, and take a closer look!
Consider the Way the Pump is Used
As mentioned above, pool pump capacitors usually have a life of about 5,000 starts. While this might seem like a big number, it goes by incredibly fast. So, try to remember when you purchased your pool pump. You don’t need to think about the exact date, just a rough estimate will do.
If you only turn on your pump once every day, 5,000 starts equals about 10 to 13 years. However, if you run the pool pump twice a day, then your capacitor might fail after only 5-6 years.
If your pool is equipped with a sand filter, make sure you take backwashing into account as well, as it includes multiple start-stop cycles for the pool pump.
Listen, Smell, and Inspect the Pump for Signs of Issues
Give your pool pump a good and close sniff. If there’s a burnt electrical smell emanating from it, then you probably have a bad or busted capacitor.
If your pool pump fails to start, give it a close listen. If you hear a quiet hum or a low buzzing sound, then it’s a sure sign that you have a faulty capacitor.
This method is a bit invasive, but you can also open up the pool pump to check its capacitor. But if your pool pump is relatively new, it isn’t humming, and there isn’t a burnt smell coming from it, then this is your last resort.
After opening up the pool pump, look for any damages or deformities in the capacitor. If the capacitor or any other battery has expanded like a balloon, then it’s definitely time for a replacement.
Keep in mind that the capacitor also directly affects the performance of your pool pump. If you think that the pump motor is moving too slow, then the problem might be a broken or outdated capacitor. A faulty capacitor can sometimes make your motor run at a high speed as well.
However, the issue could be with the wiring or the motor itself, so make sure you test the capacitor to determine the root of the problem.
What Does It Cost to Replace a Pool Capacitor?
If your pool pump fails to start, it doesn’t mean that you need a new motor. In fact, if your motor is relatively new or less than half a decade old, then the real problem might be the pump capacitor.
Pool pump capacitors cost less than $20 and can be tested and replaced by amateur DIYers as well. They’re much lighter on the wallet than a completely new motor, which can range anywhere from $130 to $500 and above.
Where Is the Capacitor Located?
Although there are several different models of pool pumps available today, it’s quite easy to locate the capacitor thanks to its housing. A pump capacitor is located underneath a ridge or hump on either the top or side of the pool pump.
It’s under a plastic housing that you can either screw or pop off, and it’s attached to the interior of a cylinder.
Make sure you don’t remove this cylinder if the pump is still receiving power. To turn off the pump, it’s better to switch off the power at the circuit breaker. You can easily do this by following the breaker’s instructions on how to switch off power to the outside of your home.
Once you successfully locate your pump’s capacitor, you can start testing it.
How to Test a Pump Capacitor Using a Multimeter
A multimeter (on Amazon) can help determine whether there’s still any life left in your pump’s capacitor. You can easily purchase this tool online or at hardware and home improvement stores for around $10 to $50.
Make sure you switch off the pool pump’s power at the circuit breaker before testing the capacitor. Some capacitors retain energy even after you switch them off, so remember to put on a pair of gloves and protective ear and face gear.
Here’s what you need to do to test the capacitor with a multimeter:
1. Remove the Cover
Look for a circular cover usually located at the back of your pump motor. Unscrew all the nuts and bolts holding the cover in place and then remove it.
This cover is usually secured by two bolts, and you can easily remove them using a screwdriver. You’ll be able to see the pump capacitor once you remove the cover. A capacitor typically measures three to four inches long and is in the shape of a cylinder.
2. Drain the Power
Some pool pump capacitors store energy, which is incredibly efficient, but also highly dangerous. Your capacitor might still have energy even after you switch off its power, so it’s important to properly drain it.
Make sure you wear eye protection and gloves before performing this step, as capacitors can short out and burst.
Connect both the leads of the capacitor to an insulated screwdriver. This will allow you to safely release the energy. Don’t worry if you hear a popping or snapping sound when the power drains out, as this is perfectly normal.
3. Disconnect the Lead Wires
Use needle-nose pliers (on Amazon) to grab the lead wires you used to drain the power from the capacitor. Carefully disconnect each lead wire from the terminal, so you can safely test your pump capacitor.
Remember where you place both lead wires after disconnecting them, so you can safely reconnect them to the terminal later.
4. Use the Multimeter
Make sure you check that the pump capacitor is rated at less than 150 microfarads and that your multimeter is set at its lowest ohm setting.
Separate the two leads on the multimeter and put them against each terminal on the capacitor. If the needle doesn’t move from its position and stays at zero, then you have a bad capacitor. Healthy pump capacitors slowly climb up from zero and then eventually speed up until the needle points to the maximum number.
It’s easier to read and use digital multimeters, as they don’t always have a needle and display numbers instead. Some analog models don’t have any numbers, so you’ll have to keep a close eye on the needle.
If you have a healthy capacitor, the needle should shift to the right and then bob to the left.
Choosing the Right Pool Capacitor

If you have a bad capacitor, then it’s important to choose the right replacement model. Make sure you choose a capacitor with a microfarad (uF) rating that exactly matches the original’s rating.
Pump capacitors are usually available in 30, 25, or 20 uF ratings, so it’s best to check and then double check that you’re ordering one with the exact same rating.
It’s also important to check the voltage. If you’re unable to find a pump capacitor with the same voltage rating, then you can choose one with a higher voltage. For instance, if you previously had a 380V capacitor, you can opt for a 400V or higher pump capacitor.
Make sure you never choose a pump capacitor that has a lower voltage rating than your previous capacitor.
