One of the defining features of an above-ground pool is that they’re not permanent structures. So if you’ve got to relocate for whatever reason, you can probably take your beloved above-ground pool with you. But how exactly does that process work?
Moving your above-ground pool from one location to another can be a lengthy, involved process; it requires picking out an appropriate destination, carefully disassembling the pool, then transporting and re-assembling the pool at the new location. You’ll need to prep the new space as well.
Let’s take a closer look at the steps to follow in order to move your above-ground pool to a new home. The task may seem daunting, but with a little patience and determination, you’ll be relaxing by the same pool in a totally new location before you know it.
Can an Above-Ground Pool Be Moved?
It is indeed possible to move an above-ground pool from one location to another safely. By doing so, you can enjoy your pool for many years, regardless of whether you decide to move homes. If you already have an above-ground pool, this is almost certainly a better option than buying a new one for the location you want the pool in.
Let’s take a look at the big steps involved in this process, and also the sub-steps or other details in each of those stages so that you know what to expect in this process.
How to Move an Above-Ground Pool
Now that we know it’s possible to move an above-ground pool, we’ve got to consider how.
1. Determine the Pool’s New Location
Make sure you pick out a new location for your pool carefully — after all, you aren’t going to want to move the pool again for a while. Here are some factors to keep in mind:
- The surface should be level
- The pool shouldn’t sit under any electric line
- The pool should be far from tree stumps or roots
- Make sure the pool won’t be above a septic tank
- The location should allow for enough sun exposure
- The location should be suitable for water drainage
- The pool shouldn’t be under any trees or other plants, to reduce the amount of debris that will fall inside
2. Disassemble
After selecting a new and suitable location for your pool, the next thing to do is disassemble the pool. Here are a few guidelines for disassembling the pool:
- Take pictures while you disassemble the pool. This will serve as a guide while you are reassembling it.
- Remove any inflatable toys and rafts. Make sure you deflate them and allow them to dry before packing.
- Drain all the water from the pool using a siphon. You should begin this process at least 24 hours before disassembling so that you can drain as much water as possible.
- Remove rails from the top of the pool walls. While doing this, ensure you keep track of the bolts, screws, and nuts that you are removing; you will need them later. Keep them safe in zip lock bags and label them carefully.
- Pull out the liner carefully and slowly so that it doesn’t tear. You might need help for this step.
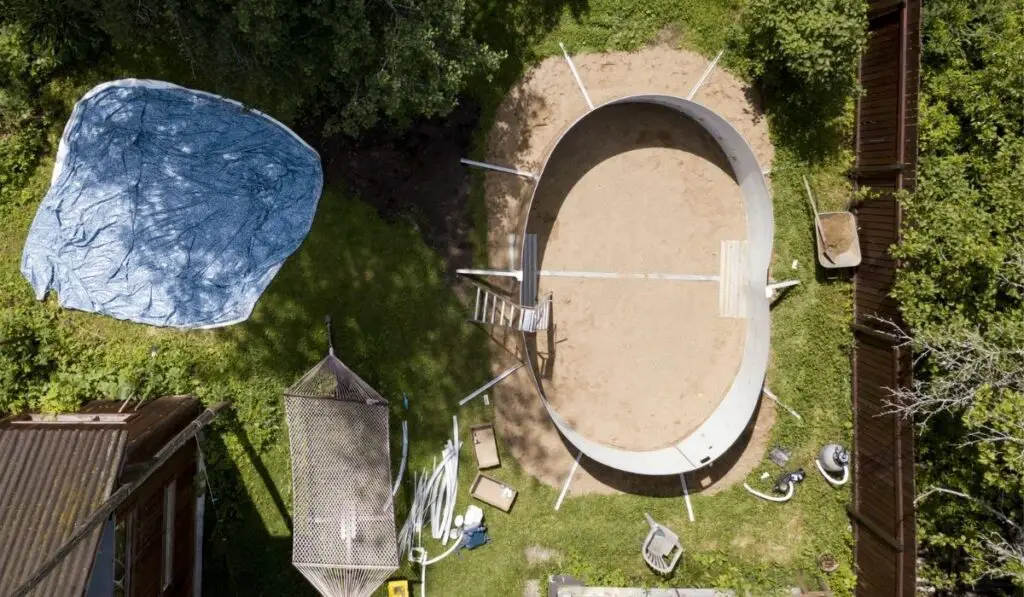
- Spread the liner flat on the ground and allow it to dry.
- Remove rails that support the walls and the tapes, nuts, or bolts that hold them together.
- Remove the walls carefully and slowly from the ground, roll them up and secure them using a rope.
- Pack the rails and pieces together, ensuring your label everything accordingly.
- Fold the pool liner to aid in its smooth and easy transportation.
3. Clean the Accessories
You must clean your pool accessories before you load them for transport. Cleaning will include hosing off any dirt on the exterior pieces. Having clean accessories will make reassembling the pool much easier.
4. Reassemble
- Begin by measuring the outline of the pool to establish the guidelines for building.
- Find the center point of your pool.
- If the pool is assembled on grass, its bottom will be unstable, and it can shift over time. It is therefore important that you remove any grass that you find there.
- Rake the area to remove any roots, debris, or grass that could damage your liner.
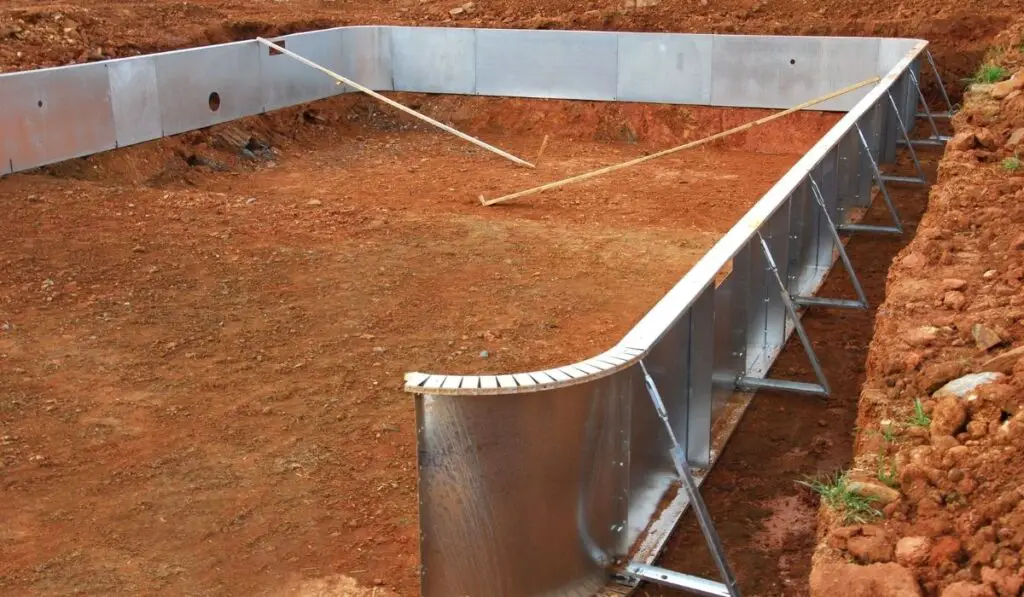
- Make use of rails, plates, and stabilizers to build the bottom ring.
- Once the bottom ring is in place, you must support the base to stabilize your pool.
- Install the pool wall at the bottom of your pool.
- Next, install your liner, followed by the top plates, rails, and covers.
- Finally, fill your pool and enjoy!