If you’re new to owning a pool, you might be wondering about the concept of changing out the lights, which are usually located below the water. Do you really need to go through the hassle of draining the pool just to change a burnt-out light, or is there another way to do it?
In most circumstances, you can change out a pool light without having to drain the pool. Make sure you turn off the electrical circuit beforehand and carefully replace all parts as you found them to avoid any dangerous electrical shocks. LED Replacements last longer, and may cost from $30-$80.
Sound doable? It is! Let’s go through the full process of changing a pool light so that you can try it for yourself next time your pool light goes out. That way, you won’t have to wait for a professional to come help you out, and you’ll save on the costs as well.
Do You Have to Empty the Pool to Change a Light?
There is no need to empty the pool to change a light in most circumstances. While you do have to follow the proper safety precautions to ensure you don’t damage anything or electrocute yourself in the process, draining the pool is a huge undertaking that you only need to do in limited circumstances. Changing a pool light is not one of them.
Why Might You Need to Drain the Pool to Change a Light?
There are some circumstances where it might be necessary to get rid of the water before you change a pool light.
If the electrical equipment is below the pool and the pool itself sits on a slope, you will need to drain the water to protect that equipment. Otherwise, it will break.
Of course, if you’re really unsure and think there might be another reason to drain the water before replacing your lights, you can seek professional advice. A pool specialist will be able to tell you the best course of action for your specific pool.
How Do You Replace a Pool Light Underwater?
Assuming everything is all good with your pool and you need to replace the light without draining it, this is how to go about it.
1. Turn Off the Circuit Breaker
Making sure there’s no electricity flowing to the pool is vital, so make sure you turn off the circuit. If you want to be extra sure that the electricity is off, a circuit tester (on Amazon) will do the job. This is definitely the safest way to handle it.
2. Remove the Screw and the Light Housing
There will be a screw holding the light housing together. Remove it. You may have to enter the pool to reach it, so prepare to get wet at this point! Once you’ve done that, you can pull the light housing away.
3. Remove Other Screws
There will be other screws holding together the housing and the gasket. Remove them and check for signs of erosion. If they look like they aren’t holding up well, replace them before putting the whole thing back together.
4. Replace the Bulb
Unscrew the bulb just as you would any other light and replace it with the new one. You should make sure the bulb is compatible with your pool beforehand, as you don’t want to go through the hassle only to find out that it isn’t the right option.
5. Put Everything Back Together
Now you have to screw the light housing back together and make sure the screws are still good. Once you’ve done that, you can turn the circuit breaker back on and the bulb should be correctly installed and ready to go.
Can a Pool Light Electrocute You?
As with any electrical feature underwater, it is possible for a pool light to electrocute you. This usually happens when you’ve left the circuit breaker on while trying to change the light or if you don’t screw the new bulb in correctly.
The latter can cause the electricity to send shocks into the water. That’s why it’s important to take the time to ensure you’ve done it right. This is not a job to rush on.
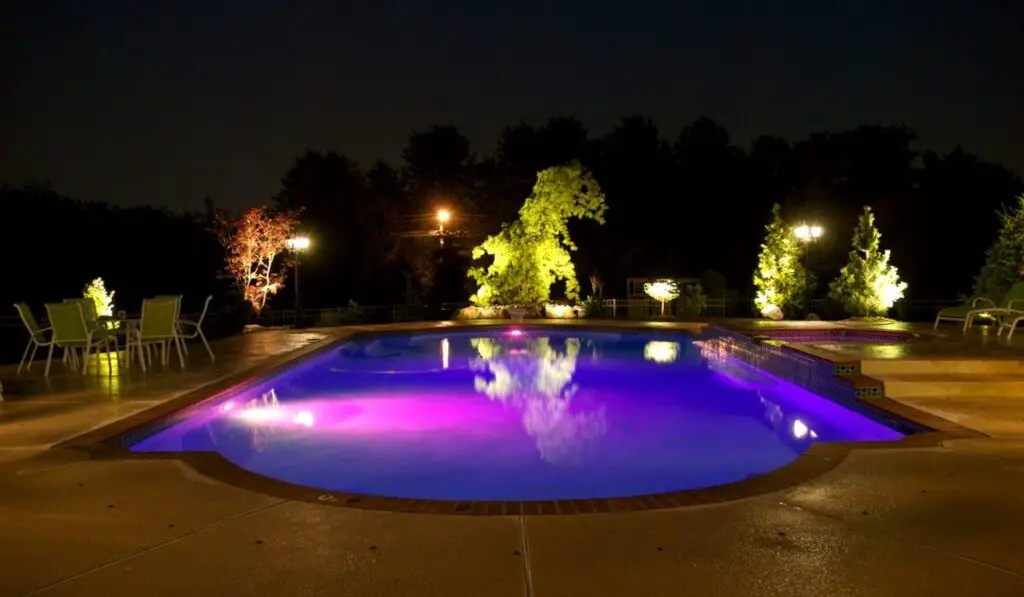
Should You Change Your Pool Lights to LED?

LED lights have some great advantages, but it’s important to consider the pros and cons before making the decision of whether to install them in your pool.
The Advantages of LED Lights
LED lights have a number of advantages that have convinced many people to make the switch both inside of their homes and in their pools. These include:
- They’re energy-efficient, so they’re better for the planet
- They have long lifespans, which means changing out your bulbs less often
- They aren’t affected by cold conditions
- They don’t give out heat and won’t affect the temperature of the water
- They come in customizable colors
When considering what you want for your pool, these advantages can be pretty life-changing — especially when you don’t need to take the plunge and change the bulbs out frequently.
Are There Any Disadvantages to LED Lights?
There are two main disadvantages to LED lights that are also important to consider.
The first is the high cost. LED bulbs cost more than your average bulb, so you’ll be paying more for each replacement. However, this cost may actually balance out over time since you don’t need to change them as frequently.
The second is that the light quality may not be stable. The white light is often duller than you might expect and can be polluted by other colors.
Ultimately, it’s up to you if you want to buy LED lights for your pool, but there’s no denying that the advantages outweigh the disadvantages. If you’ve made up your mind to switch, check out these color-changing LED pool lights (on Amazon).
How Much Does It Cost to Replace A Pool Light?
A pool light bulb can cost anywhere between $30 and $80, so how much the replacement costs will very much depend on the bulbs you choose to start with. You’ll also have to factor in some other considerations, like if you need to replace screws or need a new gasket.
In total, if you do the replacement yourself, you’re looking at up to $100.
If you decide to have a professional take on the task for you, expect to have that cost rise by another $100. Some contractors will charge more, but since it’s a fairly simple job for a pool specialist, $100 should be enough for the labor costs.
If you want to save money, it’s easy to do the job yourself and save on the cost — and now you know exactly how to do it safely.