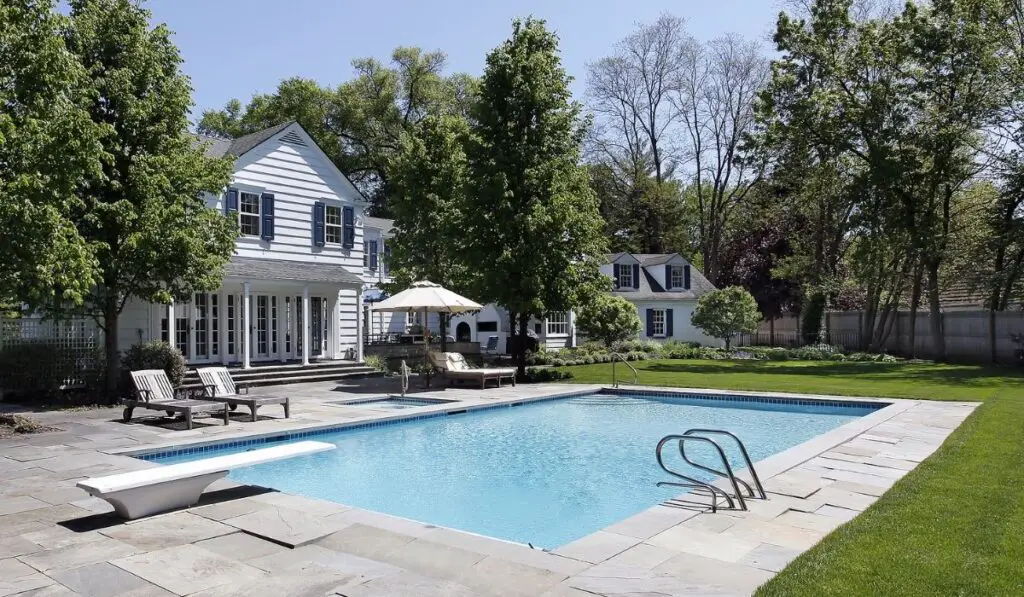
Summer is just around the corner, and that means many homeowners are considering installing a pool. Pool installations can be a DIY project or require professional services, depending on what you’re going for. Either way, here’s what you need to know about backfilling.
Backfilling refers to filling the empty space surrounding a pool with gravel, sand, or dirt, typically as part of the installation or removal process. Both in-ground and permanent above-ground pools require backfilling, and the best material to use is typically gravel or sand mixed with concrete.
Don’t panic just yet if backfilling a pool sounds more complicated than you bargained for. The process is fairly straightforward. And note that for most above-ground pools that are inflatable, backfilling isn’t necessary because the pool is really expected to be temporary. Let’s look at what you need to know about this process.
What Does Backfilling a Pool Mean?
Backfilling a pool refers to filling the empty space surrounding your pool with gravel, sand, or dirt. You might need to backfill a pool as part of the removal or installation process. Backfilling is a crucial step for both in-ground and above-ground pools.
When installing a new pool, builders need to create an area for the pool by digging up the surrounding soil. They’ll leave extra space for plumbing that needs to be covered or backfilled.
Backfilling is also required when it comes time to remove a pool. The surrounding concrete floor and walls will need to be broken up and removed prior to the process.
Backfilling services vary in cost but can fall somewhere between $3,000 and $10,000 on average. In-ground pool removals may cost more, ranging upwards of $19,000.
What Is the Purpose of Backfilling a Pool?
Many homeowners don’t realize that above-ground pools need backfilling. However, both in-ground and above-ground pools require some form of backfilling.
Above-ground pools need to be backfilled for two main reasons. The first reason is to cover the rails and plates located at the bottom of the pool. This creates a natural barrier to prevent moisture from escaping out from under the pool. Excess moisture can wash away the sand or bottom layer that the pool sits on.
The second reason for above-ground pools is that backyards aren’t perfectly flat. One area of the landscape may require deeper excavation, so the pool rests level. The holes created are a little bit bigger than necessary and will need to be filled in after the job is finished.
Materials Needed to Backfill a Pool
You have three options when it comes to backfilling a pool: sand, dirt, or gravel. Some homeowners opt for using the soil that was dug up to fill the surrounding area. However, this style of backfilling might not be as structurally sound as a slurry mixture or combination.
Either way, the goal of backfilling a pool is to create a stable and compacted foundation around the pool. A stable and compacted foundation prevents bulging walls, water leakage, and other damage.
Sand
Sand is a common material used for backfilling the space around a new pool. The sand might be used with concrete to create a stronger mixture to prevent settling.
However, sand and sand mixture can sometimes retain too much water. Too much water makes the sand heavy, causing it to push against the pool walls, creating bulges in the process.
Dirt
Dirt is not a good option for backfilling a new pool installation. Although affordable, dirt can take months to settle and fully compact.
Due to the material’s granular nature, it shifts around, becomes loose, and doesn’t pack well. This can cause gaps to form under the surface or create an unstable foundation. If a builder recommends using dirt for a new pool installation, look elsewhere.
On the flip side, dirt mixtures can be a viable material to use for pool removals. Dirt backfills are a mixture of dirt, tailings, and topsoil. Generally speaking, the mixture ratio is around 80% dirt and tailings and 20% topsoil.
Gravel
Gravel is a fairly different approach compared to sand or dirt. Unlike the granular nature of dirt or sand, gravel is made of stones. Stones provide immediate compaction and offer more efficient water drainage.
When gravel is poured, it instantly settles. Builders will still use a compactor to ensure the surface is level and fill in any remaining crannies.
Gravel doesn’t absorb water, allowing for efficient drainage. Efficient drainage prevents pool walls from bulging. For these reasons, gravel might be the go-to choice when it comes to backfilling a new pool installation.
How to Backfill an Above-Ground Pool
Although you might not expect it, above-ground pools require some backfilling as well. Here’s a simple breakdown of the process, whether you’re doing it yourself or hiring a professional.
Create a Larger Hole Than You Need
If you’re installing an above-ground pool with a semi-inground style, you’ll need to create a hole that is about three feet larger than the size of the pool. This allows enough space for backfilling around the entirety of the pool.
Fill the Pool With Water
You’ll need to fill an above-ground pool with water before you can start backfilling. You might crush the pool inward or completely destroy it if you skip this step.
Above-ground pools aren’t designed to handle large amounts of inward pressure due to how they’re constructed. That being said, the filled water creates outward pressure and accommodates the inward pressure caused by backfilling material.
Wait a Few Days Before Backfilling
You’ll want to wait a few days after installation before you start backfilling an above-ground pool. Waiting a few days allows enough time for any leaks, defects, or damages to appear. This way, if any issues arise, you can easily access and handle them accordingly.
How to Backfill an In-Ground Pool
Backfilling an in-ground pool is slightly different than with the above-ground options. For these steps, we’ll assume you dug out the backfilled trench and already have the fill material and tools required.
Backfill, Tamp, and Repeat
You’ll need to fill the trench around the pool all the way to the top in phases. First, push about one foot of your material around the entirety of the pool. You’ll want to compact this initial layer using a gas-power compactor or a hand tamper. The gas-powered tamper will be much faster.
Ensure all the material around the entirety of the pool is fully compacted. After the first layer, push the second layer and repeat. Repeat this process until you reach a foot from the top of the pool wall.
Layer of Gravel
You’ll want to use 8 to 12 inches of high-quality gravel for the last layer of backfill. Gravel provides a strong foundation to support the finished pool deck. Place this layer a bit higher than the pool wall and fully compact it. Take some extra time here to prevent the pool deck from cracking or settling.
Soak Down the Backfill
Now you’ll need to thoroughly soak the area. You’ll want to place sprinklers around the pool and let them run for 2 to 3 hours. Allow the ground surrounding the pool to completely dry over one or two days. The space around the pool might settle a few inches. This is perfectly fine and a good sign. You might consider repeating the process to ensure the layers are fully compacted.
Tips and Tricks
Backfilling an in-ground or above-ground pool seems a bit complicated, right? Thankfully, there are a few tips and tricks you can use to make the backfilling process a bit easier:
- Place the piles of dirt or backfill close to the hole, allowing for easier access.
- Backfill the area a little bit higher than necessary to account for compacting or settling.
- Use backfilling material and then place a layer of rocks or mulch a few inches high on top. Rocks or mulch don’t need to be in every layer. Placing them on top can give you a more visually appealing finish and protect the surrounding landscape.
- Arrange for heavy equipment if possible. Gas-powered tampers, skid steer loaders, bucket loaders, and track hoes can make the job go by much faster.