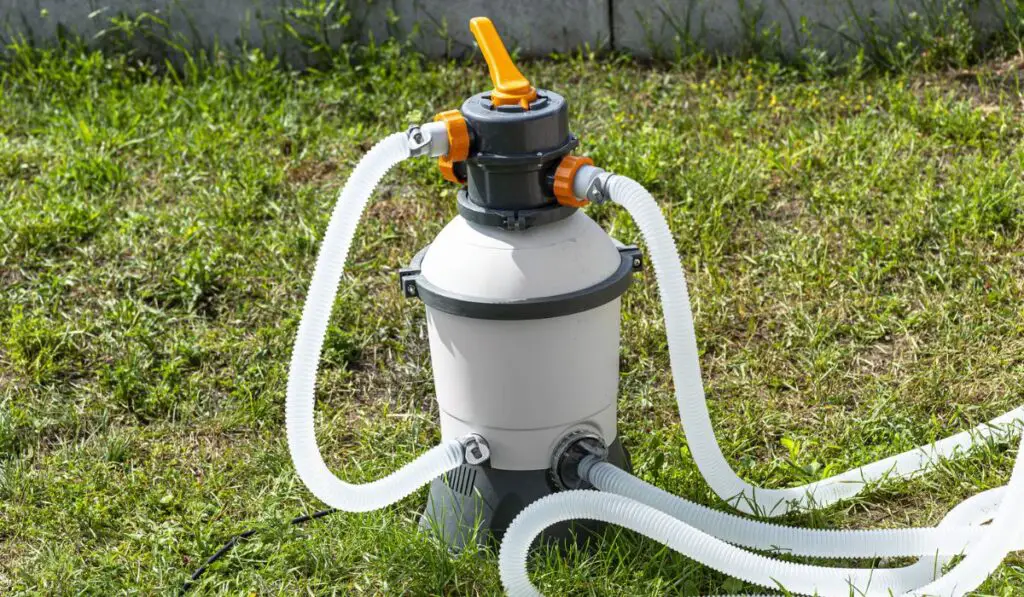
One of the perks of owning a sand filter is that you only have to change the sand every five years or so. However, many pool owners aren’t sure how to fill sand filters properly, which begs the question: How much sand does your pool filter really need?
As a rule of thumb, fill your pool filter with sand nearly two-thirds of the way. Adding too little or too much sand to the pool filter will take a huge toll on its performance, which can impact the overall health of your pool. Check manufacturer instructions to confirm how much sand to use.
Like any other pool maintenance routine, replacing the sand in your pool filter is crucial to promoting the cleanliness and freshness of your pool. Let’s dive in so you can figure out the correct amount of sand to use with your filter.
How Much Sand Does Your Pool Filter Need?
Your pool pump manufacturer will always include useful instructions to help you determine the amount of pool sand (on Amazon) that should go into your pool filter. But even if you’re not sure, there are some helpful tips to help you figure out the correct amount.
You’ll need to measure the diameter of your sand filter so that you can easily calculate the amount of sand it needs. Sand filters typically start at around 16 inches in diameter, and you should expect to add about 100 pounds of sand into a filter with this diameter.
For every inch above 16, add an extra 25 pounds of sand up to the 20-inch threshold. Beyond that, you should add 50 pounds of sand for every 2 inches of diameter, up to 24 inches.
Above 24 inches, add 50 pounds for every 3-inch increase in diameter until you get to 27 inches. For anything that exceeds 27”, you can add between 150-200 pounds of sand.
You won’t have a hard time figuring out the maximum because the largest sand filters are generally around 36 inches in diameter. Here’s a helpful chart to guide you through the process:
| Tank Diameter | Pounds of Sand to Add |
| 16” | 100 lbs |
| 18” | 150 lbs |
| 19” | 175 lbs |
| 20” | 200 lbs |
| 22” | 250 lbs |
| 24” | 300 lbs |
| 27” | 350 lbs |
| 30” | 500 lbs |
| 36” | 700 lbs |
Please note that this table doesn’t consider every pump model on the market. Some may have slightly different volumes, while others may require more sand. You can’t go wrong checking the manufacturer’s model instructions before doing anything else.
Following the Two-Thirds Rule
By design, you should fill most sand filters nearly two-thirds of the way. The partial filling leaves a bit of space above the sandbed, but the filter will still do a remarkable job catching all the water passing through it.
While it’s good to stick to this basic rule, you should still figure out exactly how many pounds of sand will go into your filter.
How Often Should the Sand in Your Filter Be Replaced?
Generally, you should replace the sand in your filter every 5 to 7 years, depending on the size of your sand filter as it compares to the pool volume. However, you should replace the sand if you notice poor water quality (dirt passing through the filter) or realize you have shorter intervals between backwashes.
Here’s what to know about replacing sand depending on your filter size:
- If you have a small sand filter with a diameter range of 16-21 inches, replace the sand every 2-5 years. You should also do it more often if there are many swimmers or when you notice lots of sticky tree debris.
- For larger sand filters whose tank diameters range between 24 and 36 inches, the normal interval for the sand changes is 5-7 years.
Why Does Sand Need to Be Replaced?
While it takes a bit of effort to replace the old sand, here’s why you need to do it:
- You’re always losing a small amount of sand every time you perform a backwash. Over the years, the sand level reduces significantly to a point where the filter becomes less efficient.
- Dead algae, oily dirt, and gooey residues build up and end up in the sand bed each time you backwash. You eventually have to get rid of them by replacing the sand altogether.
- While old sand has rounded edges that don’t filter water properly, new filter sand comes with those sharp, nicely crisp edges that stack well into layers. This makes them better at capturing dirt and debris.
How to Add or Replace Sand in Your Pool Filter
Gather all the necessary gear and follow these steps for adding or changing the sand:
Step1: Turn Off the Pump and Drain Your Filter
Disable the timer, then turn off the filter and pump. Take out the drain plug from the bottom of the filter tank and let all the water drain out. Since this takes time, you could perform this step in the morning and finish the rest in the evening.
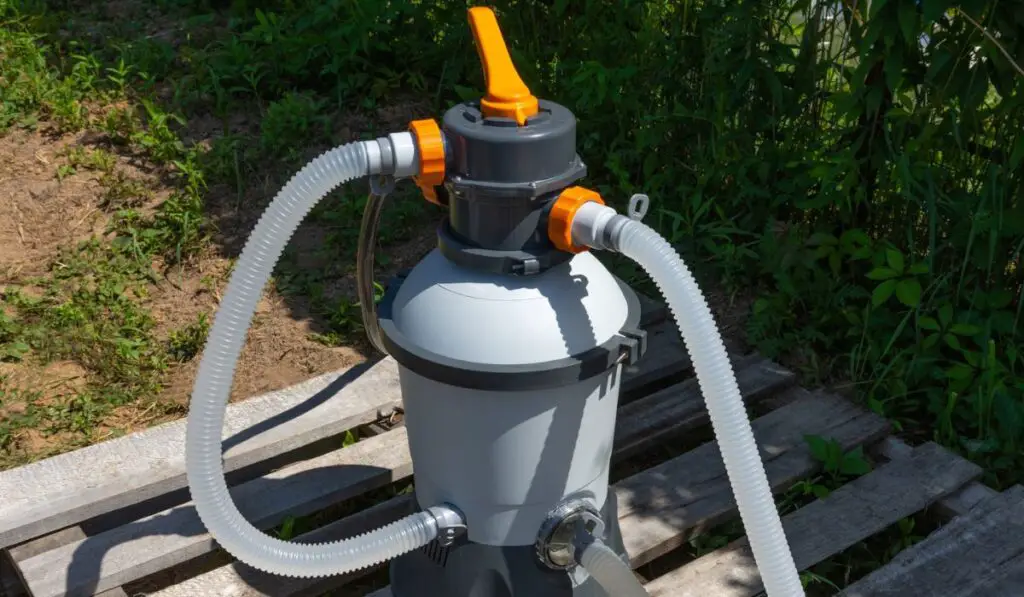
Step 2: Disconnect the Multiport Valve
Remove all the hoses and pipes hooked up to the multiport valve. Using a screwdriver, remove the clamp or collar securing the valve to the tank.
Next, carefully twist and pull up on the multiport valve to remove it. If the valve has hard PVC piping, cut it with a hacksaw.
Step 3: Cover the Standpipe
Cover the open pipe that sticks out where you’ve removed the valve with duct tape to prevent sand from getting inside.
Step 4: Suck Out the Old Sand
Suck out all the old sand using a Shop-Vac (on Amazon) to save you time and the trouble of dealing with back pains later. You can also scoop out the old sand with a plastic cup.
Step 5: Rinse Out the Tank and Laterals
Using your garden hose, wash out the residual sand from the drain hole. Use a flashlight to check for cracks on the laterals (branching arms of the standpipe) and repair them before adding new sand.
Step 6: Fill the Tank Halfway With Water
Fix back the drain plug in the tank, then insert a hose and start filling the tank with water until it’s half full. Hold the standpipe and laterals in the center position as you fill the tank.
Step 7: Put in the New Sand
Put on a mask, then carefully empty fresh sand (on Amazon) into the tank. Stick to pool filter sand or a pool filter sand substitute to avoid damaging the filter.
Step 8: Fill the Tank To the Top With Water & Reassemble Connections
Fill the tank to the top with water, then replace the multiport valve, collar, and pipes. Ensure all the fittings are tight and secure.
Step 9: Backwash and Rinse the Filter
Connect the backwash hose, turn the multiport valve, then prime your pump. Follow the correct steps for backwashing.
Check the pressure gauge reading and note it somewhere. If the next reading goes 10 PSI above it, you’ll need to backwash again.